Introducing the sigPOD 2204: What’s New!
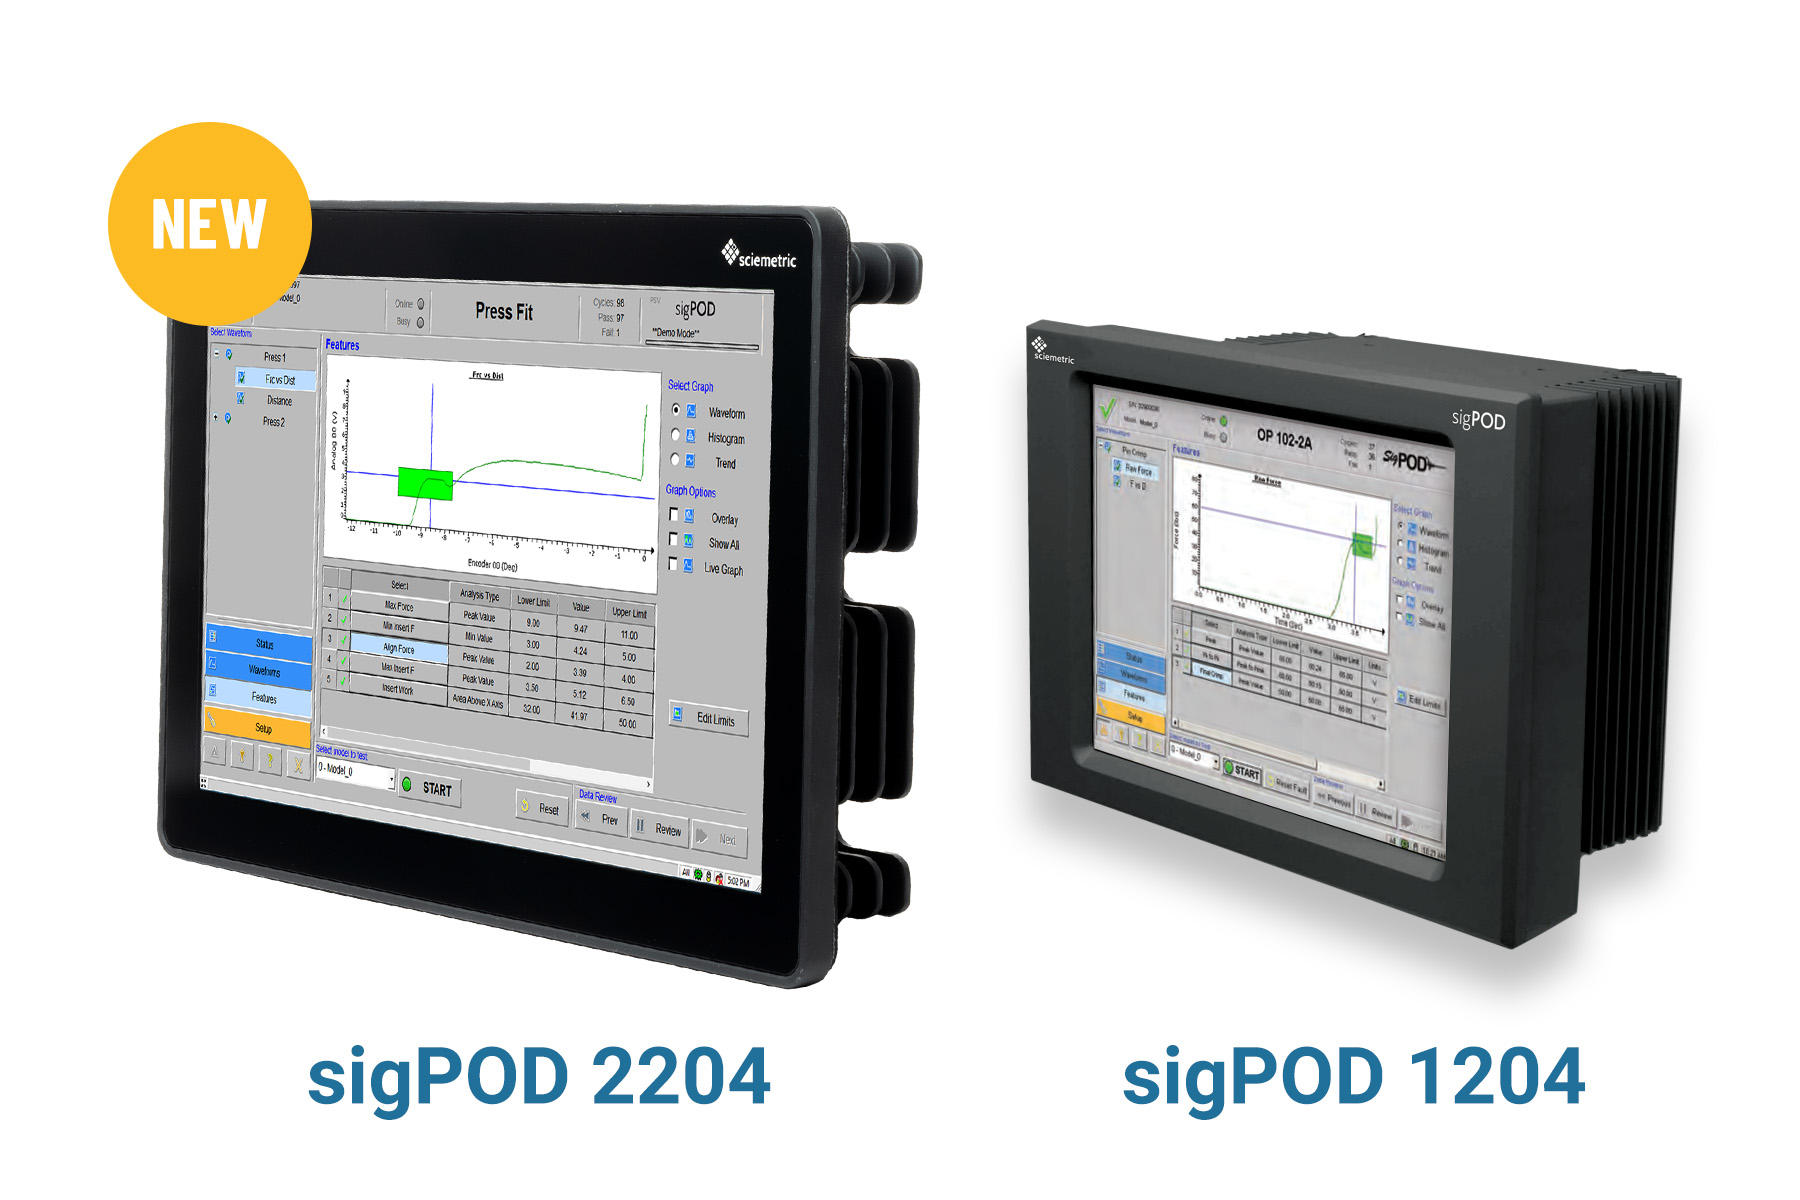
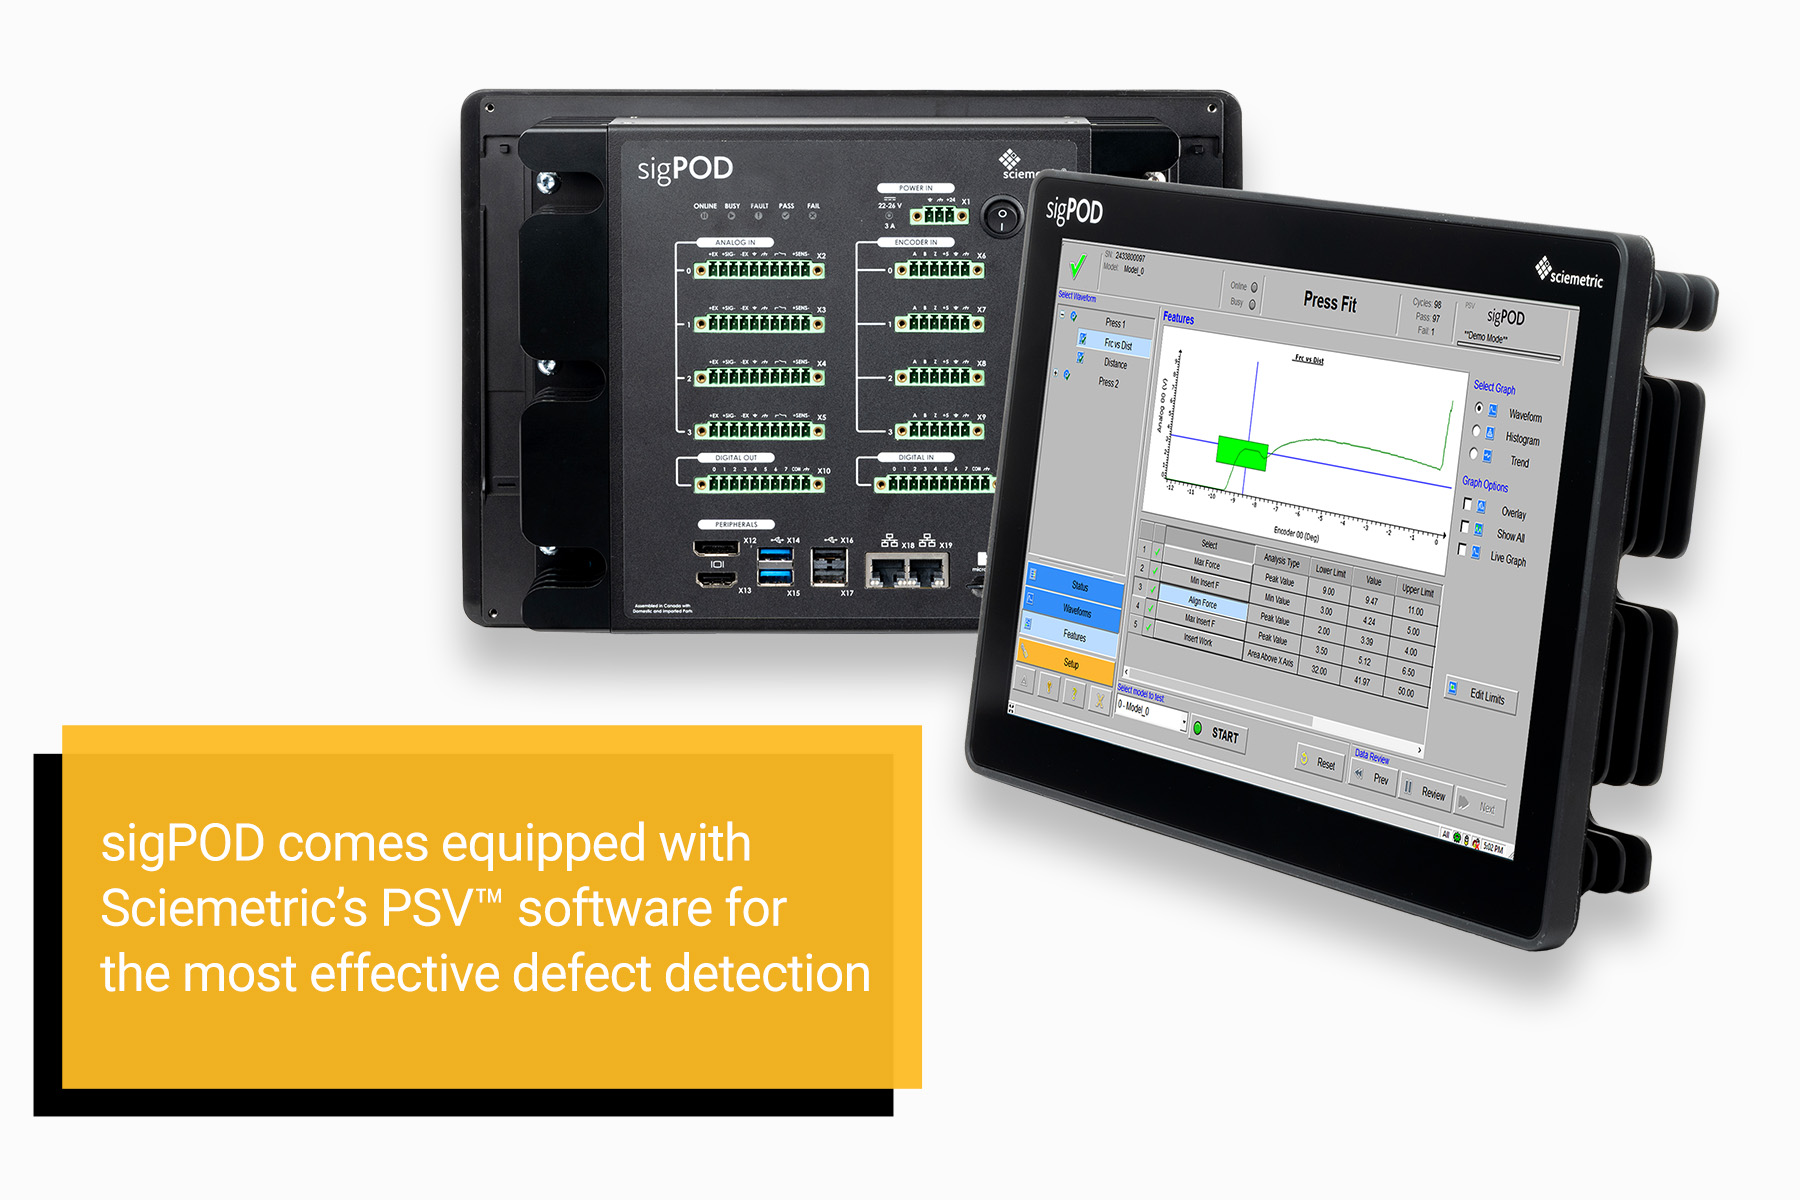
The sigPOD platform, proven on thousands of manufacturing lines around the globe, is now new and improved! Introducing the sigPOD 2204—now with 2x faster performance and a more compact, user-friendly design that makes it even easier to integrate! New features include:
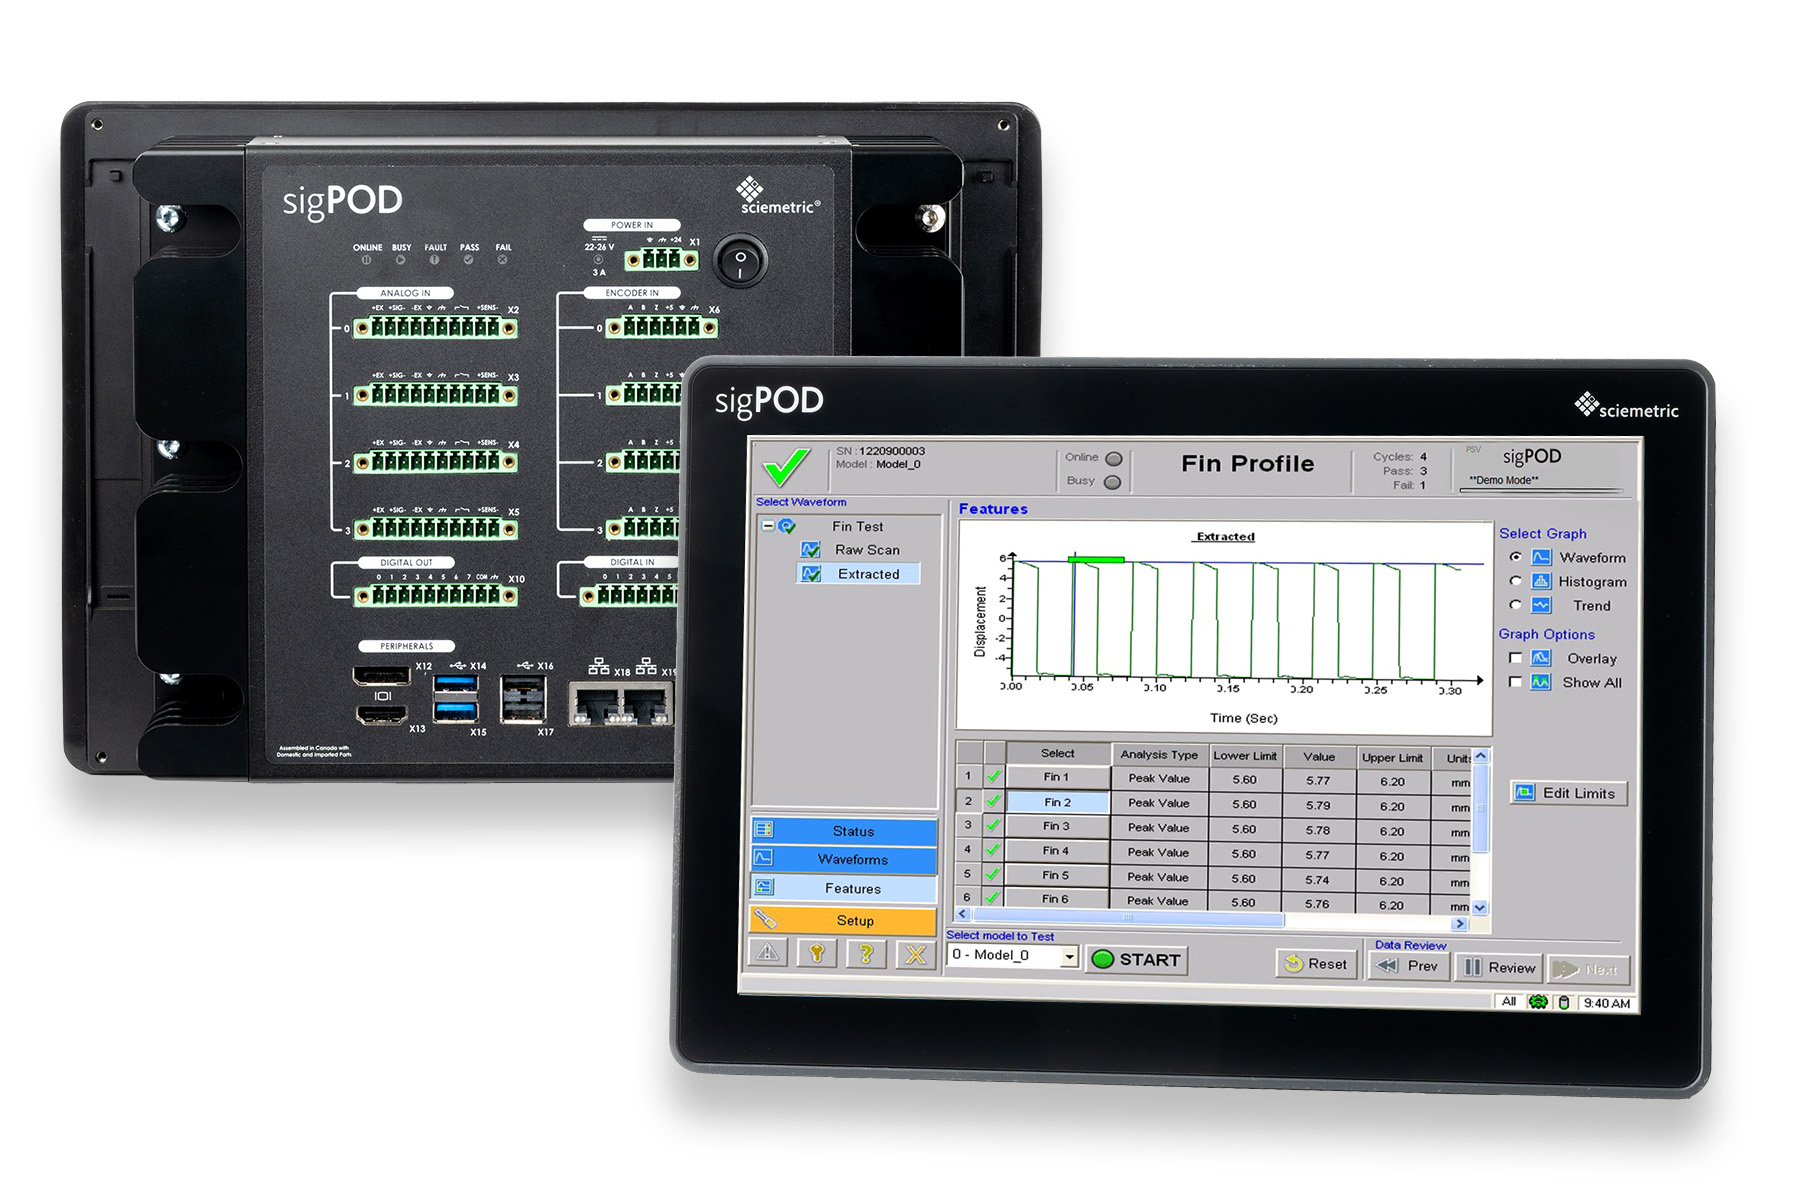
- Improved resolution: The sigPOD 2204 now offers 24-bit analog inputs and sample rates up to 125 kHz per channel
- 2x faster performance: New processor and software improvements provide 2x faster analysis reducing overall cycle time
- More compact design: New design offers an even smaller footprint, making it easier to integrate and scale your solutions
- Increased testing flexibility: The sigPOD now offers up to 4 channels on the standard model for ultimate test flexibility
- Easy, user-friendly UX: Available with or without touchscreen interface. Set up your test with point-and-click configuration
- Ultimate usability: MicroSD card for simple exchange/replacement (store up to 10,000 complete test records)
- Efficient design and function: Fewer internal cables, no internal fan

SEE ALL THE NEW FEATURES
Improve Quality Control on Your Manufacturing Line
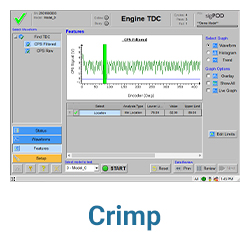
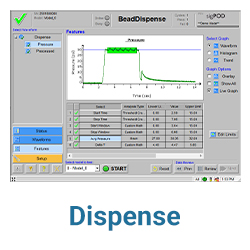
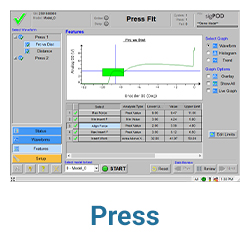
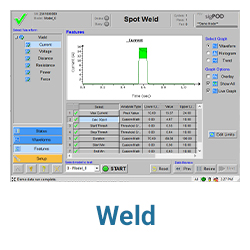
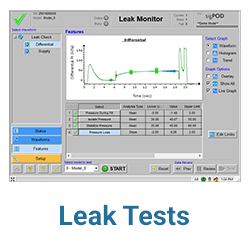
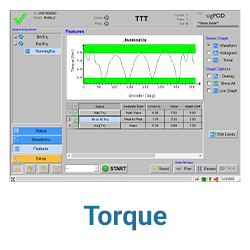
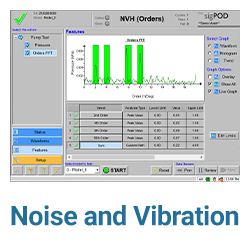
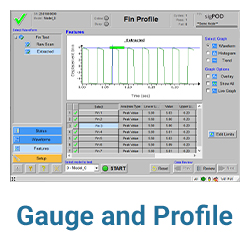
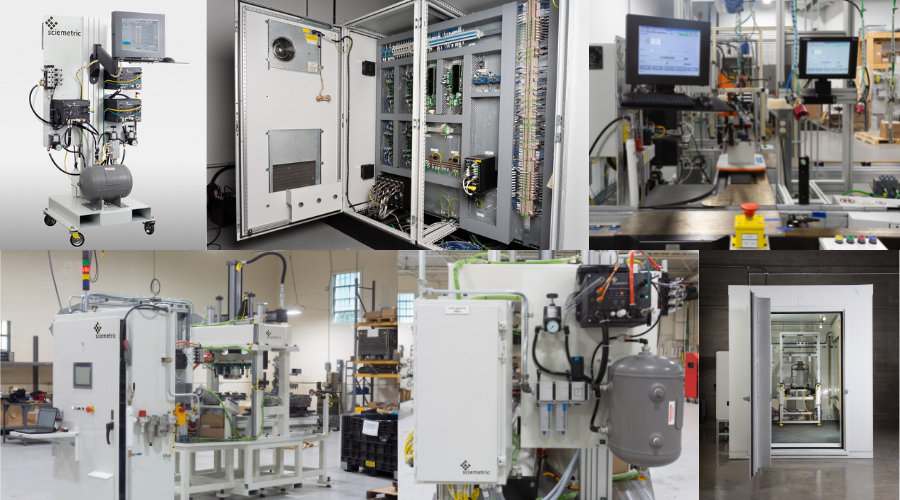
Use the sigPOD to monitor and improve quality, improve production efficiency, and achieve higher yields by catching quality issues in manufacturing in-process when they are the easiest and most cost-effective to fix! The sigPOD’s digital process signature data provides valuable insight into your processes, giving manufacturers the ability to analyze and correct the cause of defects quickly and with minimal disruption as part of a production quality management system. Sciemetric's sigPOD real time production monitoring system can be deployed across the production line for virtually any manufacturing process, including:
CONTACT US TO DISCUSS YOUR PROCESS
Currently using the sigPOD? It’s easy to upgrade to the 2204 model!
Same channels, same connectors, same mounting options, same power supply, same soft fieldbuses!
CONTACT US
How Sciemetric’s PSV™ Technology Catches Defects Others Miss
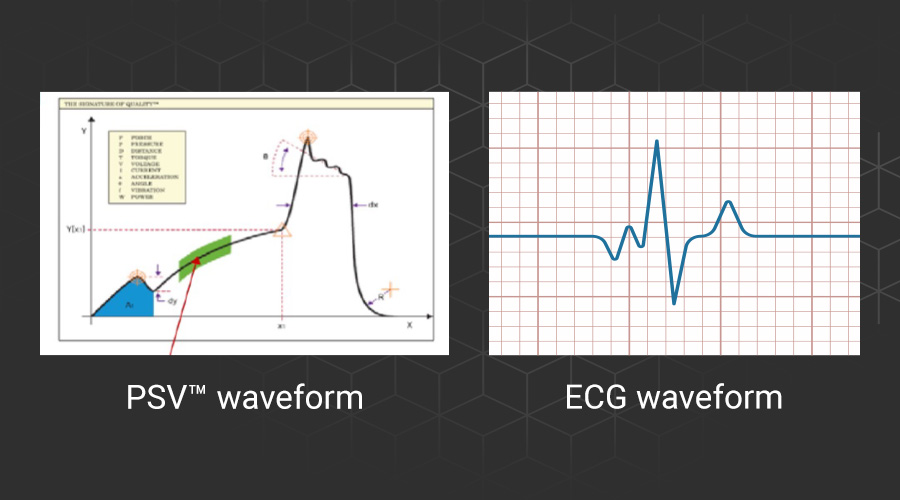
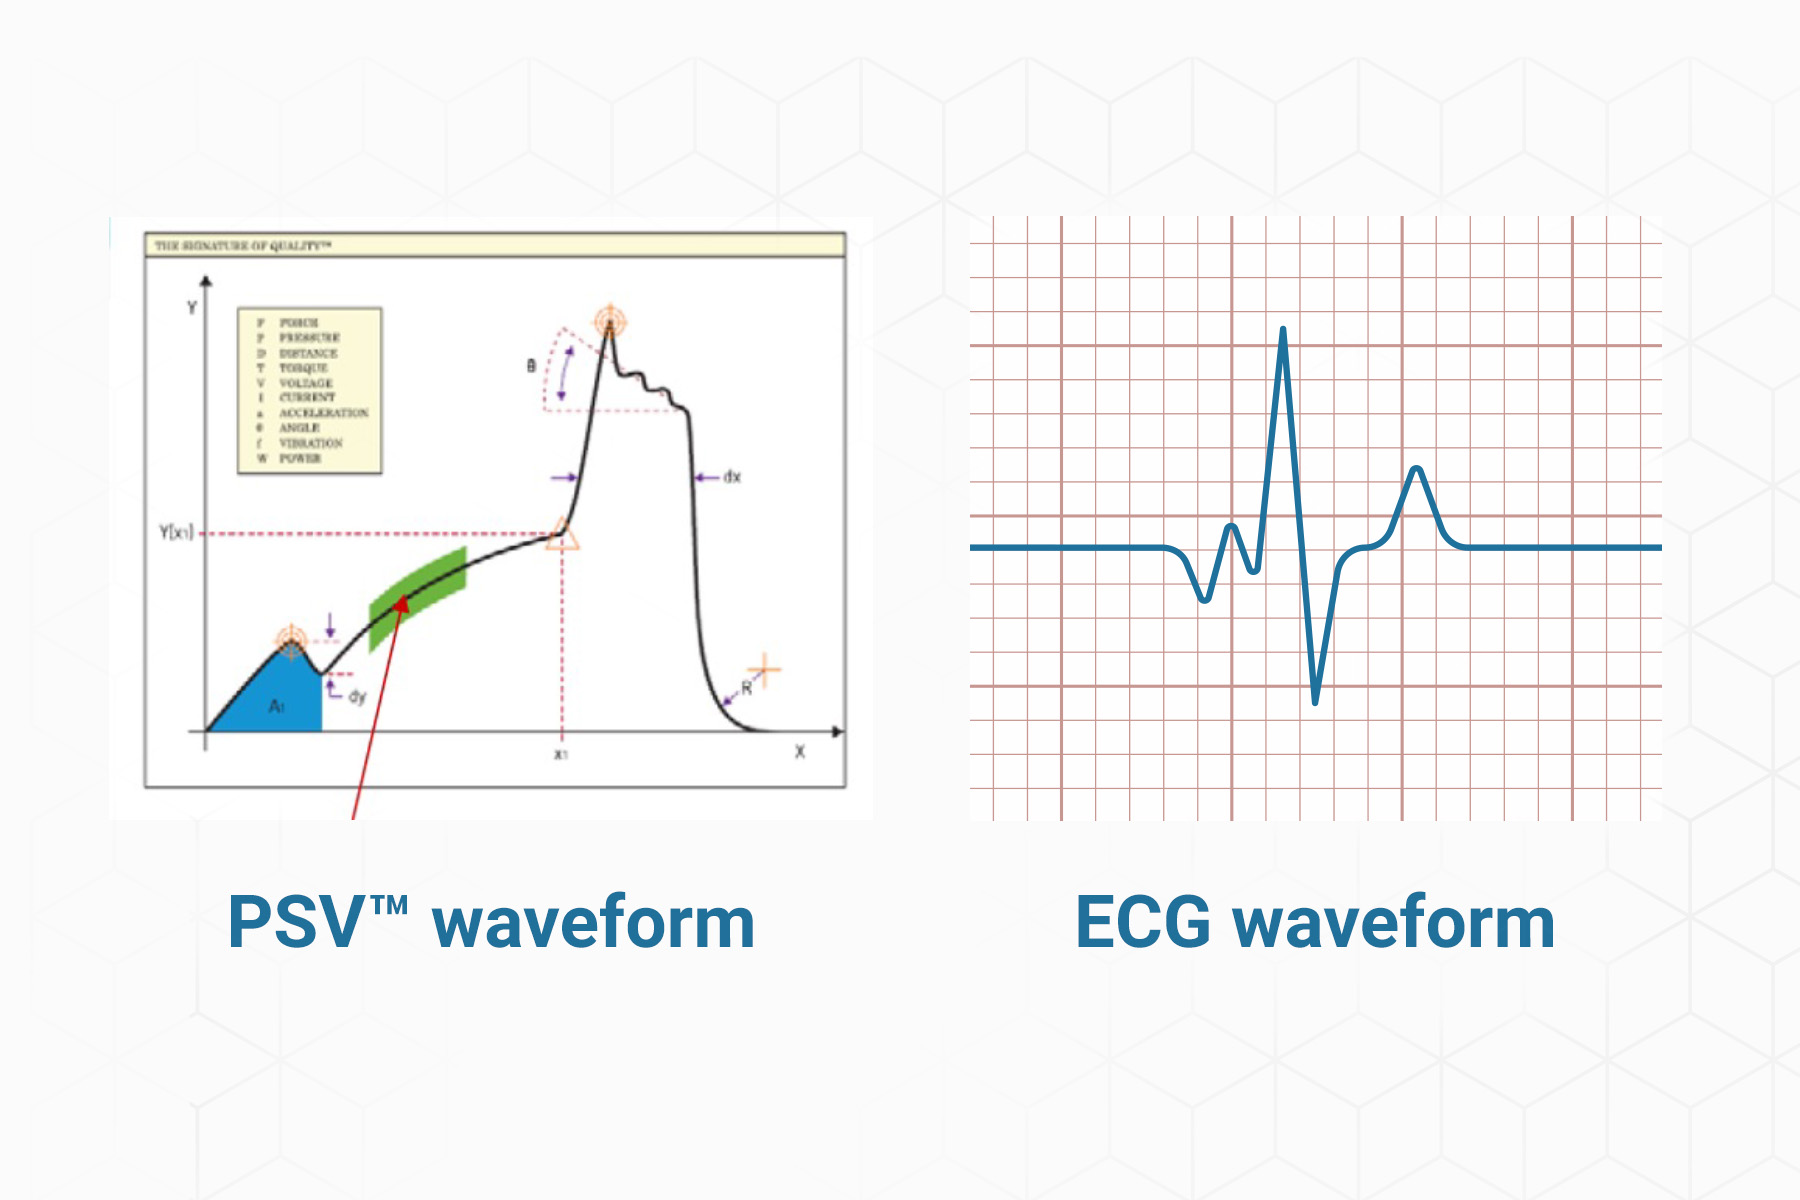
Monitor the HEARTBEAT of your assembly processes with the sigPOD
Using Sciemetric’s unique process signature verification (PSV™) technology, the sigPOD offers a level of detail that catches defects other systems miss. The sigPOD measures every moment of your process, providing a visualized waveform that tells you so much about the health of your test process—like how an ECG provides a visual representation of health and function of your heart.
An ECG tells you more than just your pulse rate, it illustrates how different chambers are beating, the capacity of heart, if there are blockages, etc.
The sigPOD’s PSV™ technology offers the same level of detail the processes on your line. A waveform does more than just confirm your press process took place, it alerts you of variations that identify improper alignment, incorrect ram speed, damaged seals, low hydraulic pressure, and more. These technologies help you catch problems at the first sight—before it becomes a bigger problem!

Catch Product Quality Defects in Real Time with the sigPOD Platform
Catching product defects as they occur is less costly and disruptive than identifying issues at the end of the line. The sigPOD is a real time production monitoring system designed to test in-process, identifying anomalies during a process in real time so that the part or assembly can be quickly removed before moving a faulty part further down the line.
The sigPOD’s unique, powerful data capabilities also allow these quality issues to be easily and quickly investigated to identify the problem, how to fix it, and how to prevent it from happening again.
Watch this short video featuring the sigPOD 1204 about how this platform has helped manufacturers across the globe improve quality control on your line.

sigPOD Offers Cost Savings with One Common Solution Across Your Line
One of the many benefits of using sigPOD for quality control and production monitoring is that it is so flexible and can be used to monitor quality on nearly any process on your line. You can standardize your in-process, quality monitoring and tests with the sigPOD system to streamline everything from training, maintenance, test development, and analysis to save your plant time and money. Experience the benefits of commonality on your assembly line:
- Common Hardware: Take less time to learn how to use, set up, or apply a new system. If there’s a problem with the system on the line, swap it out fast with another standard box.
- Common Software: Work with a standard platform that makes it easy to correlate downstream failures with upstream processes and solve problems faster.
- Common Look and Feel: Though adapted for a specific application, the hardware is the same and the software looks and feels the same.
- Common Learning Curve: Shorten the learning curve for busy engineers and for operators to move between stations without the need for extensive training.
- Common Spare Parts: You don’t need to maintain a vast inventory of spares for all kinds of systems. One hardware box can be used for many applications on the line.
WANT TO BOOST PRODUCTION EFFICIENCY? CONTACT US!
Using sigPOD for Non Destructive Testing (NDT): Reduce Scrap and Improve Test Accuracy
Sample testing is a destructive testing technique that removes a percentage of parts from production to perform field tests to gauge quality. This technique inevitably ends with a high percentage of unnecessary wasted, scrap parts—and is still largely subjective.
Using sigPOD, you can enable ndt (non destructive testing) to accurately and objectively test every single part that comes across your production line, not just a sample. Using NDT testing you can identify and remove only defective products from your line to reduce costly and unnecessary scrap. Traceability also gives you a quality record for each device.
CONTACT US FOR NON DESTRUCTIVE TESTING

Ready to catch product quality defects in real time?
Consult the defect detection experts!
CONTACT us


