Contributed by: Patrick Chabot - Manufacturing IT Manager
Most people in the manufacturing industry are acquainted with the idea of an inline repair process. Parts with problems get pulled from the assembly line, are diagnosed and repaired by technicians and then put back into the assembly process. This work is typically done in repair bays.
On the modern manufacturing line, repair bay operations must be viewed as much more than a reactive function, with technicians waiting to address individual problems as they arise. With the right data collection and analytics tools, the repair bay can drive your defect data management strategy for continuous quality improvement.
Running an effective manufacturing repair bay

An effective repair bay should operate with a two-way flow of data. Repair technicians can draw on the part’s production history on demand in digital format using its serial number. Once the repair is complete, they can add the work they have done to that record.
But too often, a part’s history is scattered and trapped in data silos up and down the production line. There is no insight for the repair tech to spot emerging trends or patterns that may point to a systemic problem at a specific point on the line. Technicians themselves may not have any means to record what they have done either, at least not outside a silo of their own.
We’ve talked many times about the need to capture the entire history for each part as it passes through each process and test station. This data is comprised of both scalar results (for example, maximum torque value and press force) as well as sensor outputs (torque vs. time waveform, force vs. distance waveform). Signature and trend analysis is the process of comparing these scalar values and waveforms in a systematic and automatic manner to detect defects or manufacturing operations that are out of tolerance.
That same science must be applied to your repair bay operations if you want to achieve continuous quality improvement.
Using data at the repair bay
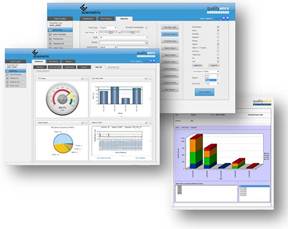
This means using data management and analytics software that ties the stations on your production line to your repair bay. If you do that, your people can diagnose failures faster and identify exactly what needs to be repaired. They can trace the root cause of the issue on the line and quickly answer the important questions of what, where, when and why.
The next step is to consolidate all the data related to the part – defect, location, repair data and operator comments – and aggregate it into a consolidated birth history record that is tied to the part’s serial number. All these records must be stored in a single database that can be searched and cross-referenced.
With this kind of insight, you can quickly determine which adjustments or refinements on the production line will have the biggest impact to improve quality.
The results are obvious – true continuous improvement for higher first-time yields with less scrap and rework. That means higher profit margins, happier customers and fewer warranty claims.
But levering your repair bay in this way takes more than implementing the tools and processes for waveform data collection, management and signature analysis. It takes buy-in from the corner office to the plant floor. We’ll talk about that in our next repair bay article.

