As line operators return to plants, many manufacturers are looking for ways to make sure their lines are running as efficiently as possible, with solutions that support the safety of their employees. One key area where meaningful changes can often be made is at the station level on the production line.
With so many production lines coming back to life, now is the perfect time to consider how Industry 4.0 technologies can raise the bar on product quality, efficiency and profitability. This can be done with technologies that are additive, rather than disruptive, at relatively low cost.
For example, instead of just collecting scalars to determine pass/fail at a process or test station, manufacturers can benefit from in-process testing (IPT) that’s powered by the insights from digital process signature analysis. This off-the-shelf capability can be easily added to just about any station, compatible with existing tools and equipment from almost any vendor.
There are many benefits to process signature analysis. One of these key benefits is better defect detection, which is your first defense against costly warranty claims.
Achieving better defect detection on your production line
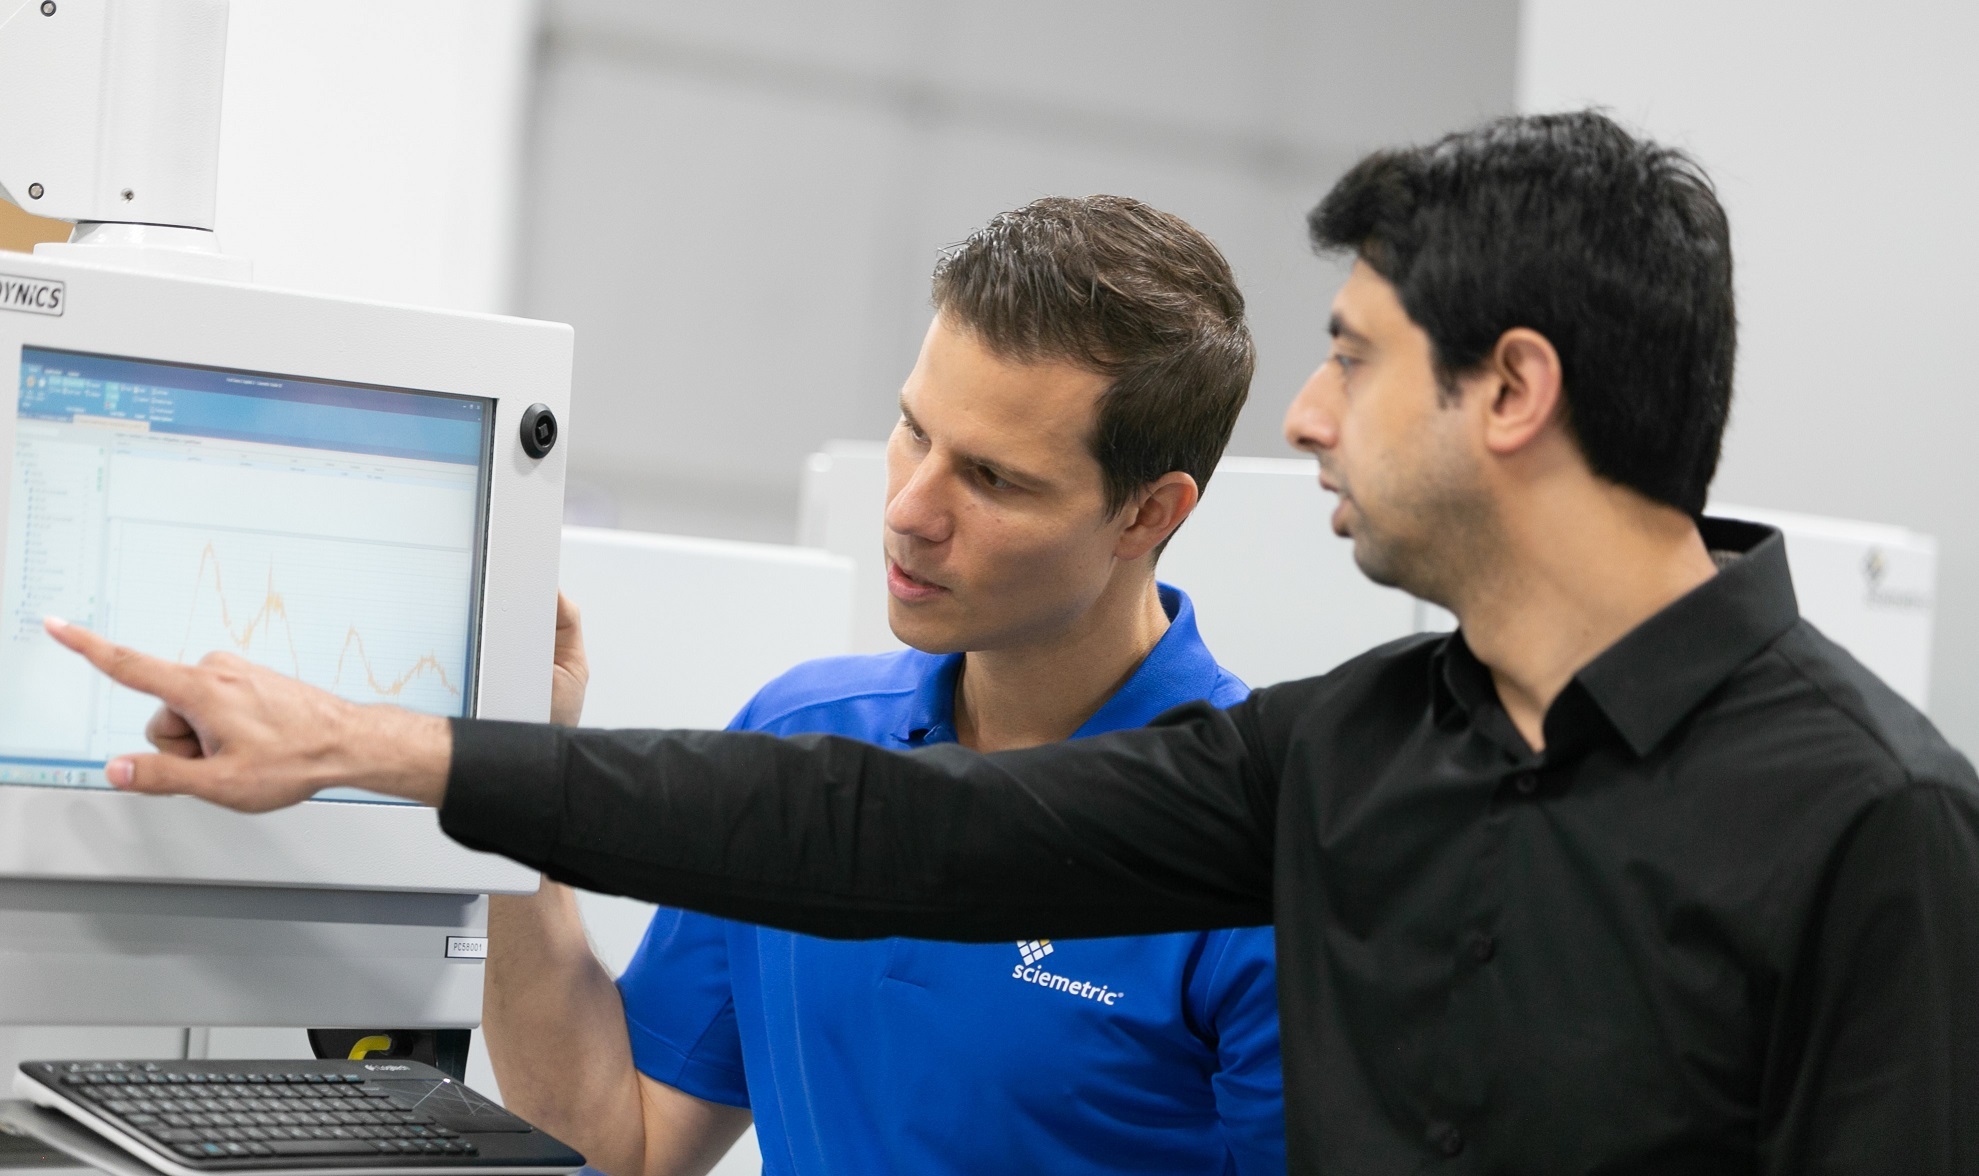
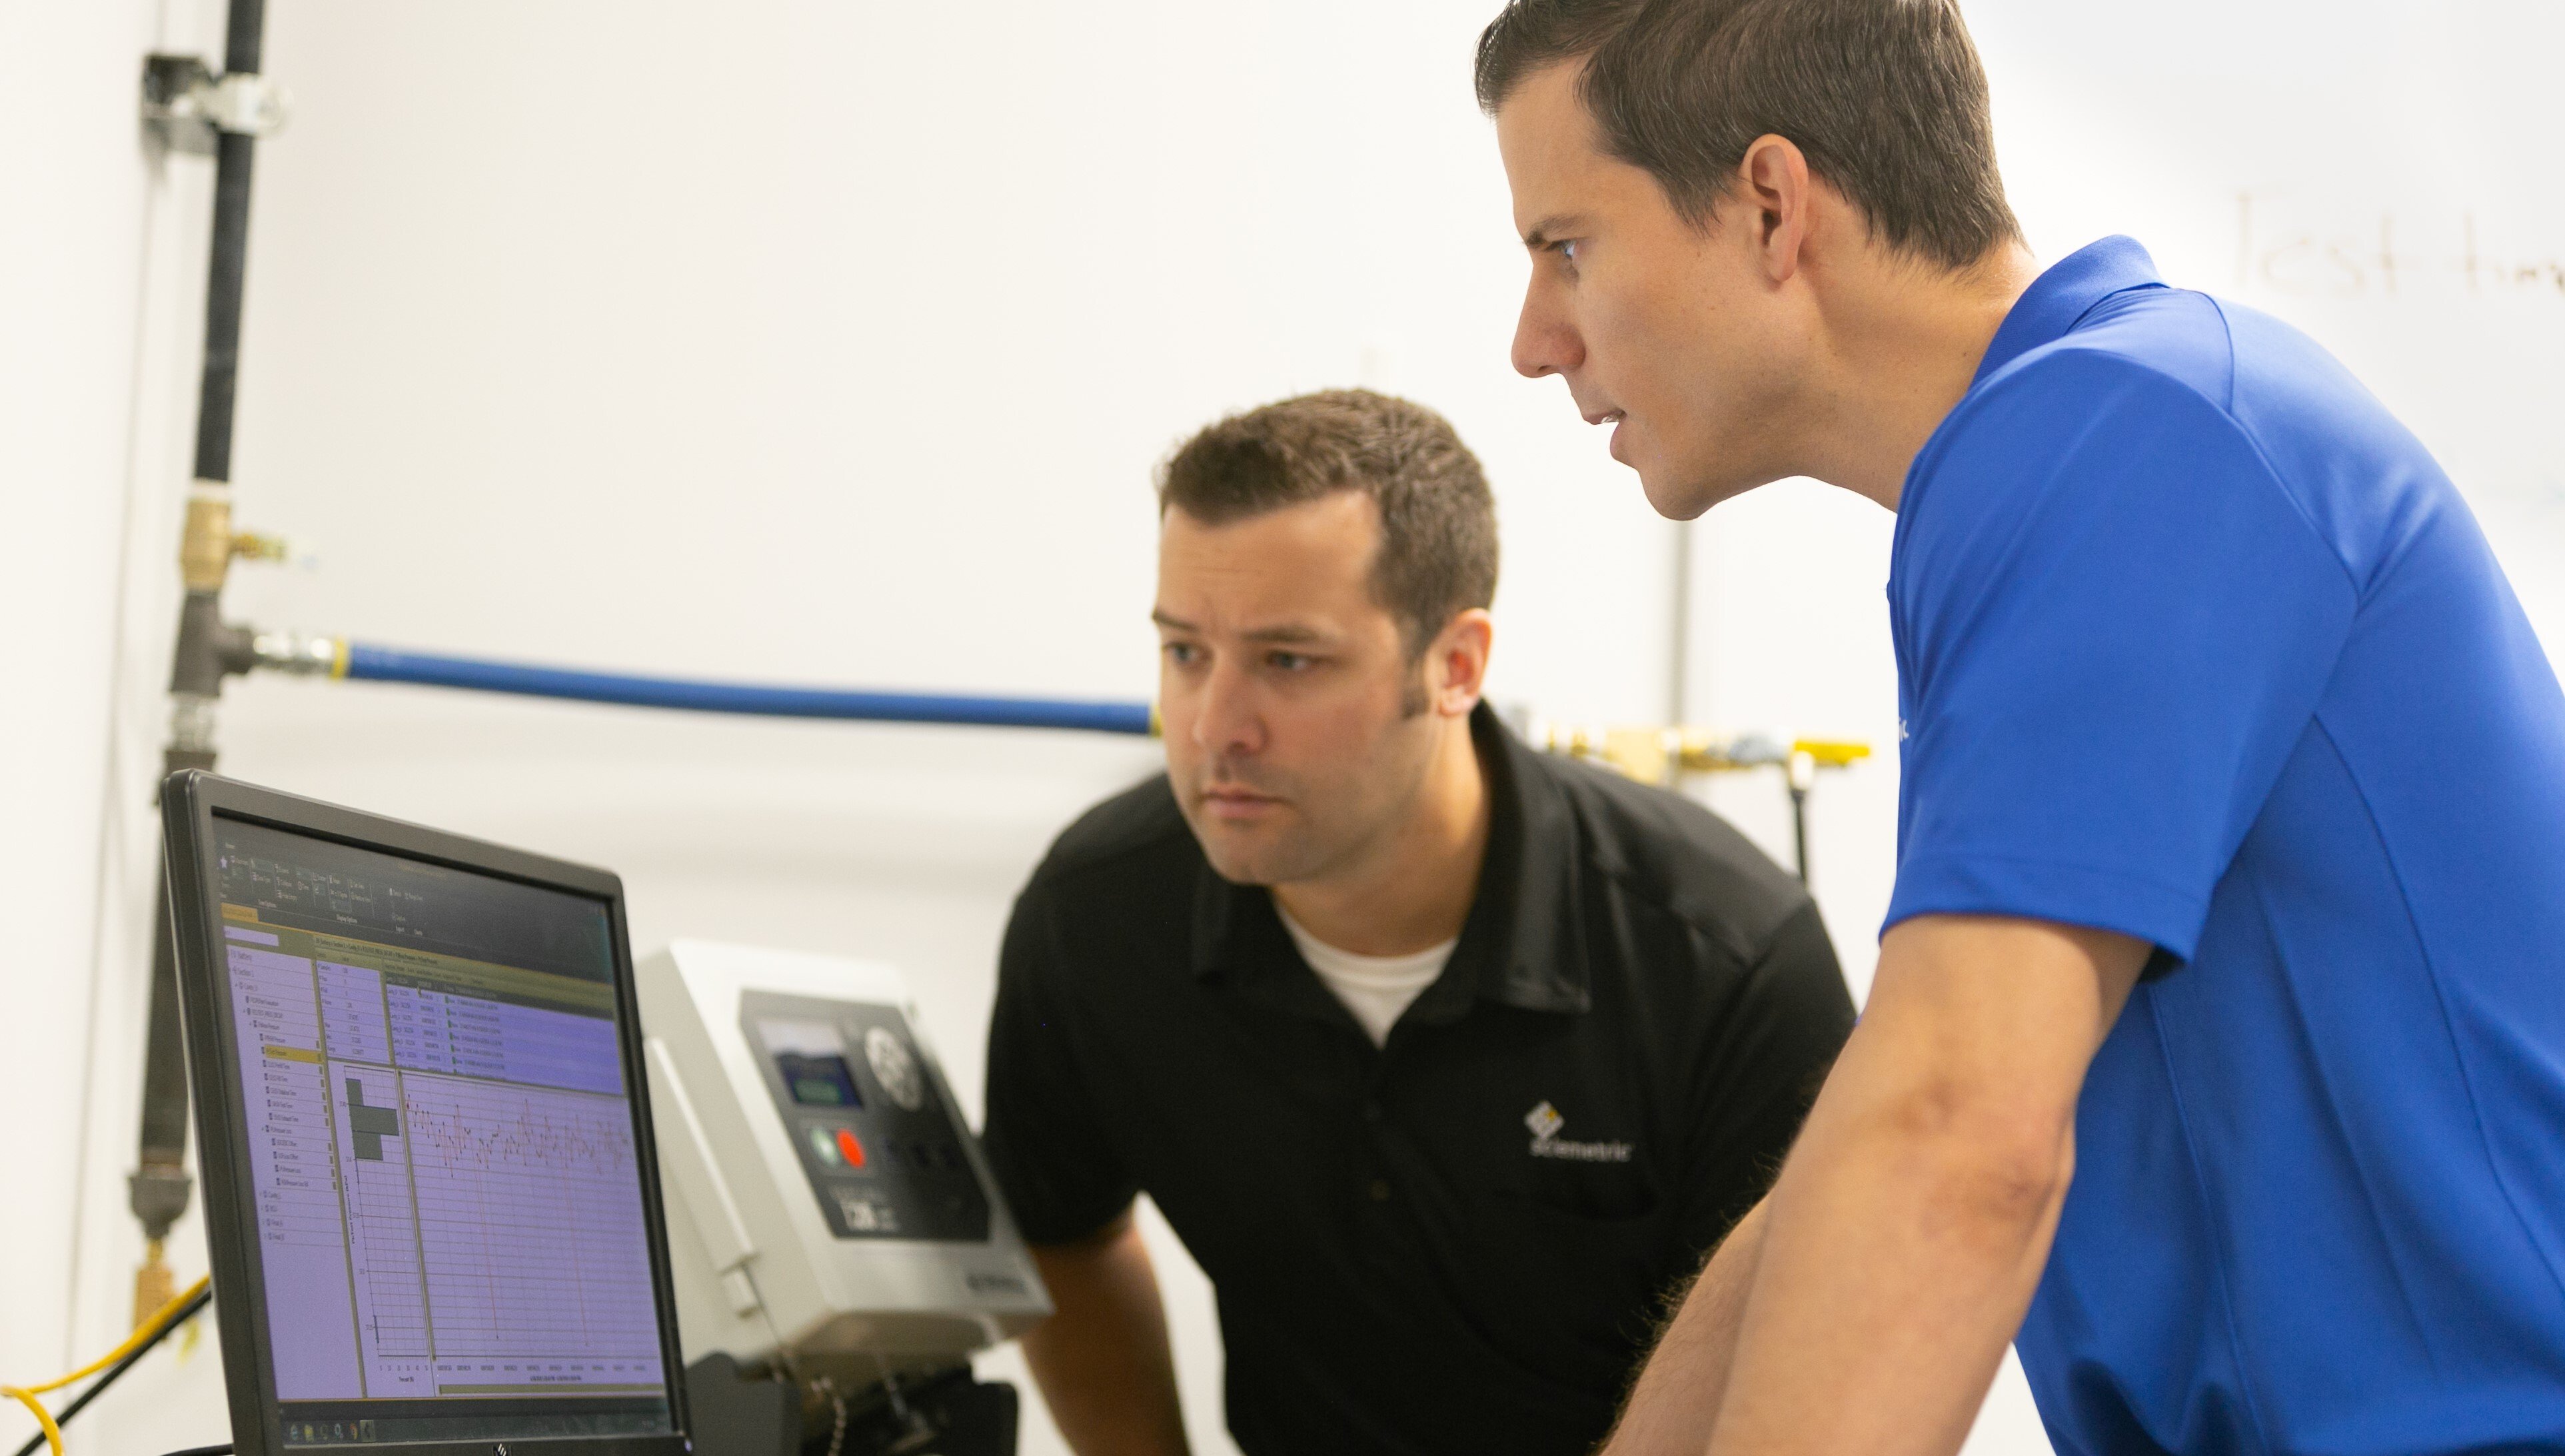
A process signature is a visual representation of everything that happened through every millisecond of a manufacturing operation on a particular part. The signature is captured and displayed on screen in production real-time. Think of it as a video instant replay, versus the handful of snapshots provided by scalars.
This insight makes it easy to determine if an operation or a test cycle was completed within acceptable limits, and if any of those indicators are toeing the line of a marginal pass.
Identifying defects during press-fit operations (and other in-process operations)
Press-fit operations are quite common on the production line, so let’s use that as an example.
A variety of problems could be occurring during your press-fit operation. The two parts coming together could be misaligned with the press. The part being inserted could be the wrong shape, size or type. The cavity into which it will be inserted may not have been bored properly or could be fouled by debris. The press machine itself may be in need of maintenance.

All of these issues can be easily profiled and identified by three measurements – force vs. time, distance vs. time, and force vs. distance. A process signature can capture and plot all three of these indicators, and reveal if any of them fell outside of the established norm at any time during the press-fit operation. This makes it easy to quickly trace the root cause of existing problems or spot the anomalies that point to new ones before quality suffers.
This same depth of insight can be applied to just about any process or test on the line, including crimp, dispense, torque, noise and vibration, gauge and profile, weld, leak test and more, using Sciemetric in-process test monitoring technologies.
The value of this insight for better defect detection extends far beyond the individual process cycle. Hundreds or thousands of signatures from the same process or test can be visualized as a histogram to spot trends and patterns on a particular station, across your line, and even across all lines in your enterprise. This archive grants your team the ability to quickly identify probable cause if quality problems are identified in finished products.
In our next post, we will talk about how digital process signatures allow you to achieve more effective limit setting for improvements in efficiency and quality of your test.
CONTACT US TO LEARN HOW DIGITAL PROCESS SIGNATURES
COULD BENEFIT YOUR APPLICATION

