Contributed by: Sciemetric Staff

From automotive to medical devices, crimping is a common manufacturing process that spans various industries. Regardless of where it is used, it can suffer from the same quality issues.
A crimp is a process in which two pieces of metal (or some other malleable material) are joined by compressing them together through a process of deformation such as bending.
Crimping is often used for wire connections, where in-field performance of the final product will depend on electrical current passing through the crimped connection.
A standard quality assurance test for crimp is the destructive pull-test. This is both time-consuming and costly. It destroys perfectly good assemblies, provides no assurance that faulty ones won’t still slip through and relies on statistically predicted failure rates that can be skewed if a process has drifted out of control or if the sample size isn’t large enough to accurately represent the lot characteristics. When an issue is found, an entire lot of assembled units may have to be recalled and scrapped because the pull-test doesn’t provide a data trail with which to zero in on only those units that are likely to bear the defect.
Common causes of crimp defects
But we know what can lead to a poor or defective crimp:
- Missing wires or terminals
- Missing or soft crimps
- Missing strands or ears
- Debris caught in the terminal
- Double crimps
- Incorrect wire gage
- Improper placement
Using data to measure and analyze crimp operations
Some of these issues, such as missing components, arise from other upstream production problems and can be caught through means such as machine vision inspection. Others arise at the crimp station due to issues that can be identified and characterized through non-destructive means.
Here is how: Each cycle of the crimp operation can be characterized by metrics that include force versus distance and force versus time. Using digital process signature analysis, these data points can be captured, profiled and plotted as waveforms, and recorded by the serial number of the part assembly in question.
With digital process signature analysis, it is easy to characterize an optimal crimp operation with a waveform, then compare this waveform with that of each process cycle in production real-time. This is in-process testing and it eliminates the need for destructive pull-tests, while at the same time providing a near perfect degree of quality assurance which a pull-test simply cannot match.
This degree of quality assurance is of particular value in the medical device manufacturing business, where in-field product failures due to poor crimps can expose the manufacturer to the liability associated with class-action lawsuits and regulatory sanctions. Take, for example, an implanted device such as a pacemaker, where a crimp may be used to connect the pulse generator to the wire leads which deliver electric pulses into the heart.
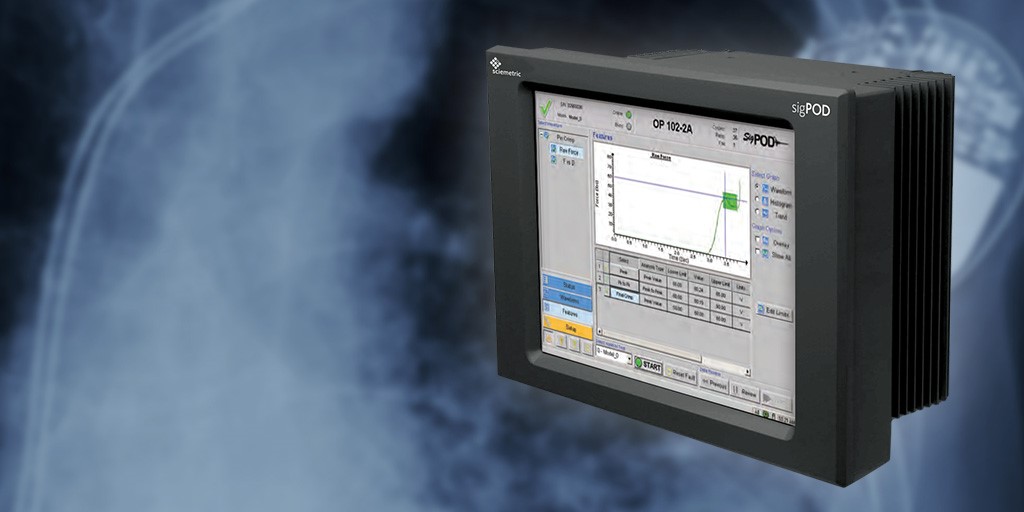
Sciemetric’s sigPOD and its digital process signature analysis software delivers the real-time pass-fail feedback and advanced defect detection to find crimp defects quickly, for medical device makers, automakers and any other manufacturer that rely on this assembly process.
Learn more with our Crimp & Stake Verification Application Note.

